27 February 2013

Lucy's Play Kitchen: A Closer Look

 
I'm finally getting around to giving you a bit of a closer look as to how we put Lucy's play kitchen together. I'll admit when I purchased the two mismatched nightstands from my favorite vintage shop, aside from slapping on a few coats of paint, I really wasn't sure how I planned to tackle this project. Once the ideas started rolling, things came together pretty easily, with only a few minor hiccups. I'll admit I had a few more grandiose ideas, but I let reality settle in that I'd mostly be doing them for myself since she's too young to really appreciate them, yet.
 
 
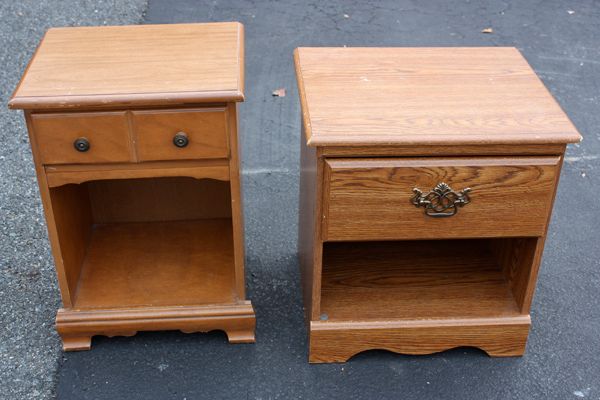
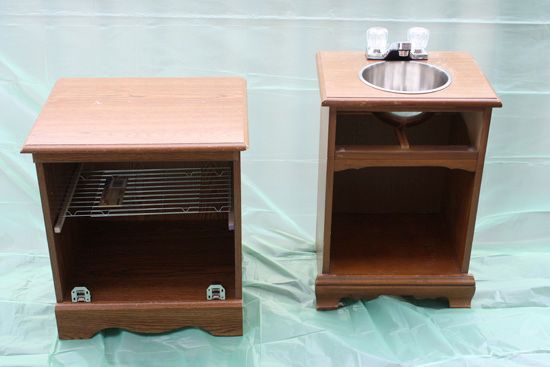
I spent just under $20 on these two pieces. I decided pretty quickly that the tall, skinny nightstand would be the sink and the short, 'fat' one would work best as the oven.
 
 
I purchased a cheap bathroom faucet for $11 from Home Depot and a metal bowl from the dollar store to be the sink and faucet. With Jordan's help (ok, he did it all...) we traced the outline of the bowl on the top of the skinny nightstand, and cut a hole slightly smaller to fit our makeshift sink. He also cut two smaller holes to attach the faucet. Since it's a pretend kitchen, we simply tossed any plumbing accessories for the faucet. Because of the depth of the bowl, the drawer wouldn't be able to open. We removed the drawer and detached the front so we could add new hardware, paint, and reattach.
 

Jordan attached these wooden dowels (similar to the ones I used for the schoolroom hook rack) from Home Depot to use to hold the fake oven rack I purchased from our local Dollar Deals shop.

 
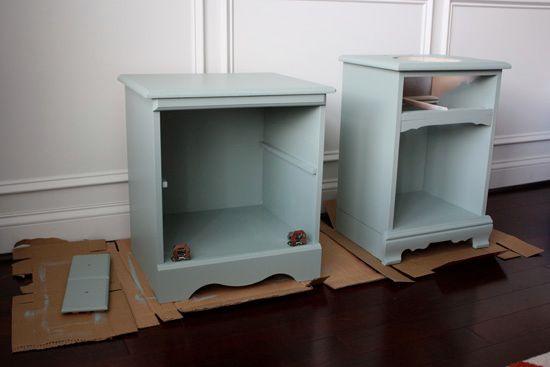
We struggled a bit with how we were going to make an oven door. I really wanted to make one that looked as realistic as possible with a plexiglass window that opened from the top. We sort of did the oven door last since we were undecided, but didn't want to slow the process. Once the rest of the kitchen was finished structurally, it was time to paint.  
 

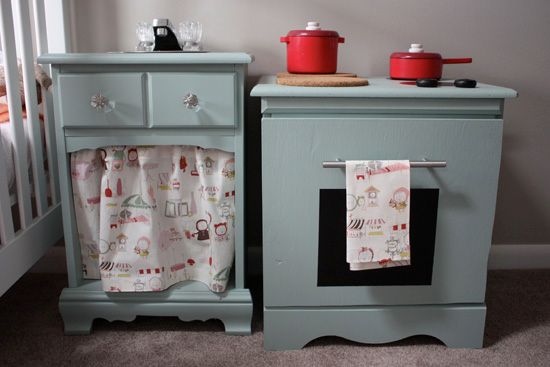
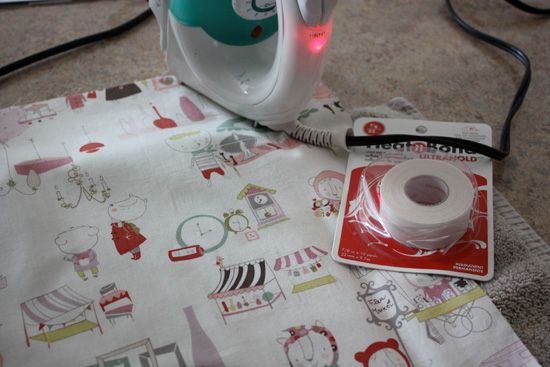
In case you're curious, I purchased the adorable flea market fabric from my local JoAnn Fabric store and the paint is Martha Stewart 'Milk Pail'.

 
I fell in love with the fabric and wanted to use as much of it as I could so I decided not only to make a 'skirt' for under the sink, but to use some of the leftover material to make tea towels. Of course I have zero sewing skills so I left it up to my iron-on-hem skills to get the job done. The skirt was attached using a tiny tension rod I found at Target.
 
 
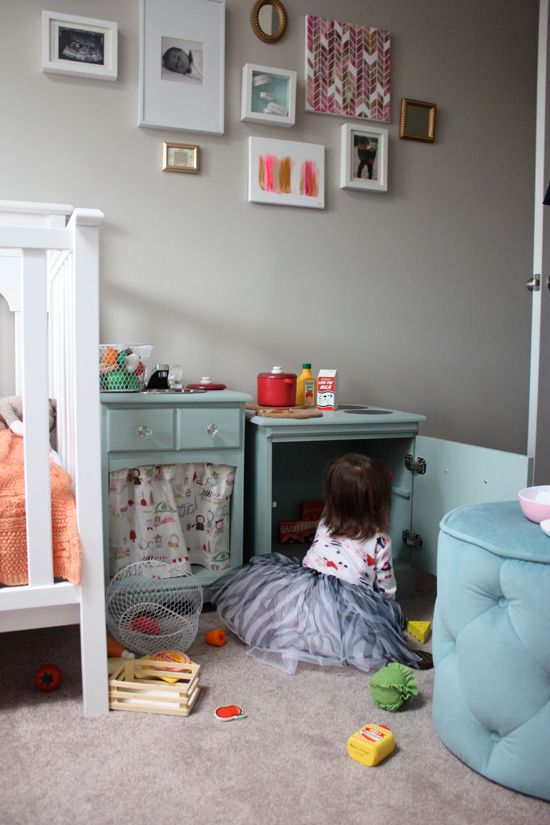
For the oven door we ultimately decided to pick up a piece of scrap wood from Home Depot and cut it down to size. We originally attached the door with the hinges at the bottom so that the it would open like a real oven, but Lucy kept trying to stand on the open door and I would have a mini panic attack thinking it would break and she'd hurt herself. I decided safety came first and we swapped the hinges so the door opened from the side.
 
The handle is a simple drawer pull and the 'window' is actually chalkboard paint. The oven rack also didn't last long .We still have it and keep it handy, but Lucy just wanted to remove it every time she played anyway. Maybe one day we will attach it 'permanently'. The oven burners are also painted using chalkboard paint and the cork trivets were a cheap Ikea purchase.
 
 
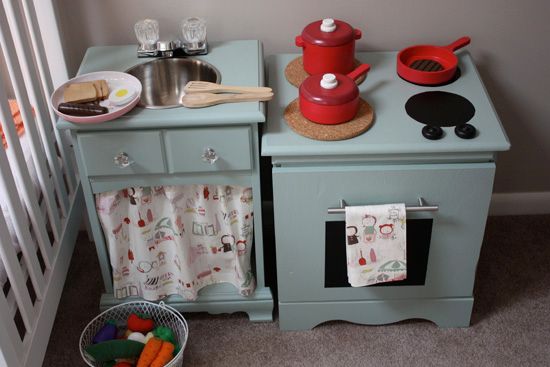
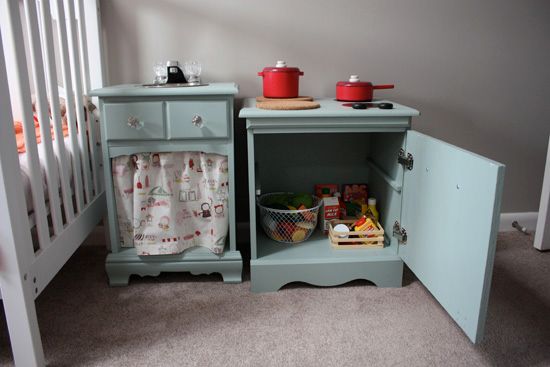
The best part of the design is that both the oven and the sink double as storage to keep all of Lucy's play food, pots and dishes somewhat organized when she isn't playing.
 
 
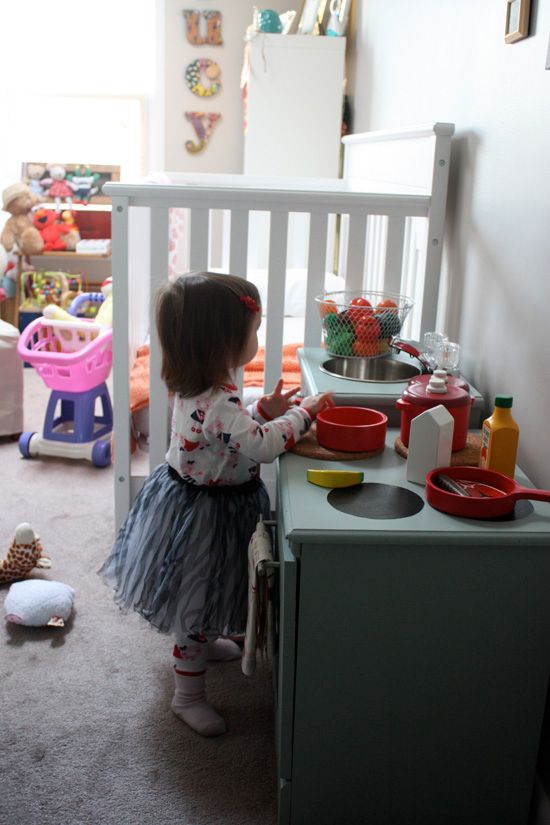
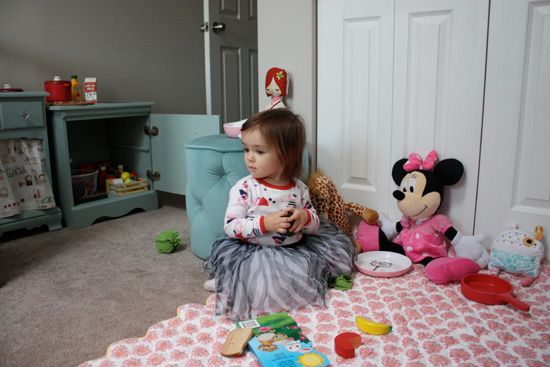
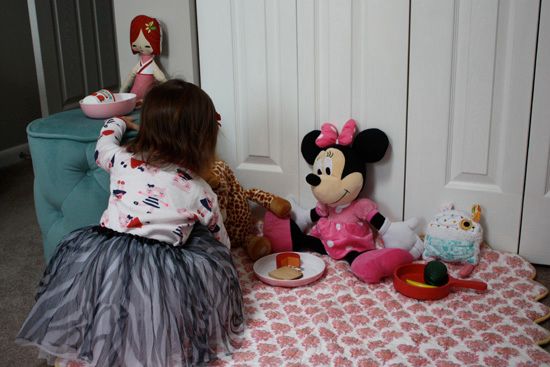
We decided to keep the kitchen in Lucy's bedroom for two reasons. First being that we are pretty much maxed out on space for more toys in our living room, but also because we wanted a place upstairs where Lucy could play and keep herself occupied when Jordan and/or I needed to get ready for work, do some laundry or take a quick shower.
 
 
As you can see, Lucy loves her kitchen. She particularly enjoys sticking some of her smaller stuffed animals in the sink for a 'bath'. No matter how she uses it, this project was well with the time and effort.
 

26 February 2013

Our Girl

It blows my mind that we have a 19 month old daughter. Time is flying by and she's growing so quickly. I am so incredibly proud of the girl she is growing up to be. Funny, smart, sweet, and a ball of energy. Whether she's running around the house screaming at the top of her lungs, singing and dancing in our living room, or snoozing in my arms, I love every minute with this girl. 


20 February 2013

DIY Floral Antlers


The antlers are mounted and hung! I shared with you my love for all the floral antlers I was seeing around the internet, and after a coworker of mine kindly gave me a pair of my own, I was anxious to get them up in our house. 


I cleaned my antlers up and purchased some fake flowers at the local craft store. I bought a few different types as I wasn't sure which way I wanted to go.


Once I laid everything out I decided to stick with just the largest two flowers with two big leaves.


I'll admit it took Jordan and me a few days of brainstorming to decide exactly how we were going to mount these antlers. I knew that I wanted them on the wall above our bed so it was pretty crucial that there was no chance they would fall in the middle of the night on our heads.


Jordan cut three piecess of wood from a leftover pallet we've had stored in the basement. Rather than measuring, he eyeballed the width of each as we agreed we didn't necessarily want them to be perfectly even. It would look better if they were a little 'jagged' like the hook rack I made a few months back. To attach the three pieces together, Jordan cut two smaller pieces and screwed them vertically into the wood. We chose this method so we could also use the scrap wood attach the mounting hardware. 


The tricky part of this was how the antlers were going to be attached to the wood. We ultimately decided to drill four small holes through the wood at the bottom of the antlers where the flowers would be. We used sturdy wire to wrap around the antlers and the wood three times before securing on the backside of the wood. 


Here is a side view to see how the wire was wrapped around the antlers. Three loops seemed plenty as I made sure to tightly wrap. By the time I was finished the bottom of the antler would barely move. I tightly twisted the wire around itself on the backside of the wood about two inches in length before folding the twisted pieces and sharp edges and tucking them against the wood. 


Once the bottom was secured I used hot glue to attach the antlers at the top. We mounted metal hooks onto the back pieces and used nails in the wall to attach the antlers. The wood and antlers were surprisingly not heavy and we decided anchors weren't necessary with the hardware we used.


The antlers look great above the bed and the rough rustic wood balances nicely with our (new!) Ikea bedding. Our bedroom is finally starting to look like a put together room.


19 February 2013

Lucy's First Valentine Party

My sweet Valentine.

Lucy had her first real party with other kids this past weekend. My friend Lindsay hosted a Valentine Sweetheart Brunch for 8 kids and their moms/dads. I actually felt like a put-together mom as I managed to pull off bringing both some form of food and making valentines for all the kids. Of course, in normal Jessica fashion I did both the food and Valentines up until 1am Friday night.


At the request of the hostess I made these great mini parfaits for the kids using three easy ingredients - sliced strawberries, Graduates strawberry yogurt and Cool Whip. 


For the Valentines I picked up these puzzles - Disney princesses for the girls and Lightning McQueen for the boys. The ribbon and baggies I already owned and I recently picked up the heart cards and owl/bird stickers for Lucy's other Valentines. I also picked up some reduced sugar fruit snacks as an added treat.


Lucy was in charge of decorating the heart cards. 


I broke each puzzle apart and put the pieces inside the small paper baggies. I tied the bags closed with a piece of festive ribbon and stapled the fruit snacks to the bag.  The birds indicated the boy puzzles and owls for the princess puzzles.


Of course we also had to make Valentines for Lucy's close friends and family. As much as I wanted to do some elaborate, detailed craft I opted for simple because I wanted Lucy to participate as much as possible. We picked up blank pink cards from Michaels along with varying Valentine themed stickers. 


I encouraged Lucy to do as much as she could on her own, with just a little guidance from mommy.


I also made sure to translate her message in each card. 


We addressed the cards to all Lucy's friends and family and shipped them out just in time to arrive for Valentine's Day. They were a hit as I received numerous excited texts and Facebook messages as soon as all Lucy's family and friends received their Valentines. 

Hope you all had a fun and love-filled Valentine's Day! Can you believe February is half over??